Harbor Picture Company X SCAD: Week 2 Review
- tvalencia2010

- Jan 23, 2023
- 3 min read
Updated: Mar 1, 2023
Updated Presentation
FX Testing Update
Because I have yet to work with fluid sims, I wanted to do simple tests to learn the set up of a flip fluid solver and to understand the different attributes that way I understand how it works so I can better control it to do what is best for the project.
This is not what our shot will look like as it will be a slow turn and it will already be filled up compared to it filling up here. over the weekend, we got some great reference photos and videos . This is a video of the perfume liquid swooshing and I could get a better read on the density and properties.
LOOK DEV/COMPOSITING UPDATE
The second week our team pushed forward for more R&D and looked for more references.
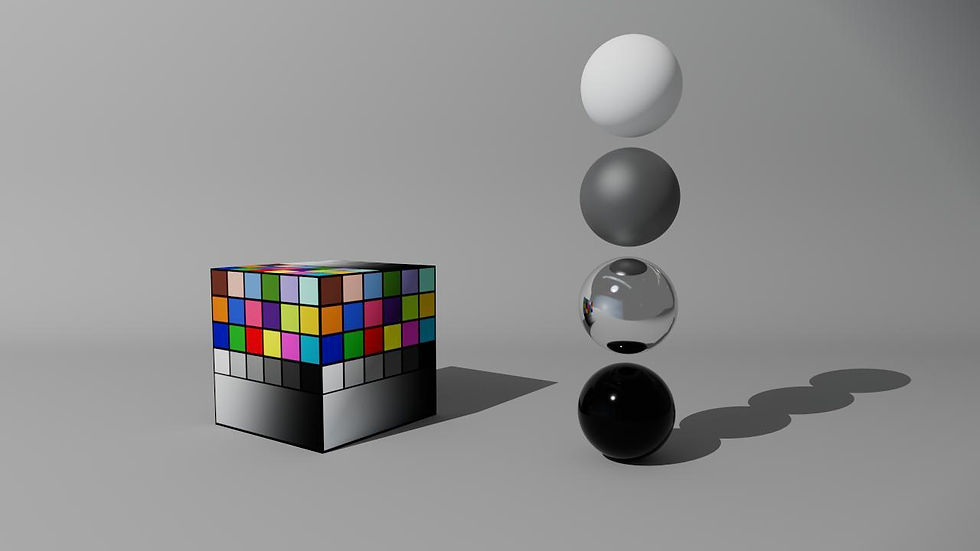
First, all the compositors and look dev team needed to create a look dev rig to accurately display the material and get the correct lighting. I wanted to choose a HDR that had high contrast as that is similar to the lighting we are trying to go for. I chose this studio HDR from PolyHaven.

To set up the rig, it needs to be facing the light. The HDRI will be used as a fill light and another spot light will be used as the key light. The spot light will be aligned with the key light within the HDRI. It needs to have the Macbeth chart properly aligned and have the standard 4 materials: A grey ball, white ball, chrome, and black plastic.
My first pass was backlit so it was a little underexposed and did not light it properly.

The lighting in my second pass was in the correct position but it was way over exposed to the point where the grey ball was washed out.

Because I was rendering in redshift and not Maya, I had did not have the ability to clamp the luminosity levels without taking it to another program. One option was Photoshop, but I decided to take it into Nuke instead and use a clamp node to make the max .88, as it is supposed to be at 88%. and the min .12, as it is supposed to be 12%. Because prior to doing this, the brightest parts had an luminosity way over 1, which means the exposure is blown out.

After exporting and bringing it back into Houdini, I tweaked the spotlight intensity. After exporting the last one, I brought it back into Nuke to check the luminosity levels to make sure the brightest points on the Macbeth chart was not over 1. This is the updated chart.

FX UPDATE
I have the responsibility of creating the flip fluid simulation as we want to have the liquid swoosh inside the bottle. The first steps I like to take, as it was my first time learning flip fluids, was to do a test simulation so I understand the dynamics of it. I have looked at different references and tutorials and these are a couple that I was referencing and using to get used to flip fluids.
I also looked at resources provided by Professor Fowler using her website.
I mainly followed the first tutorial to get used to the mechanics.
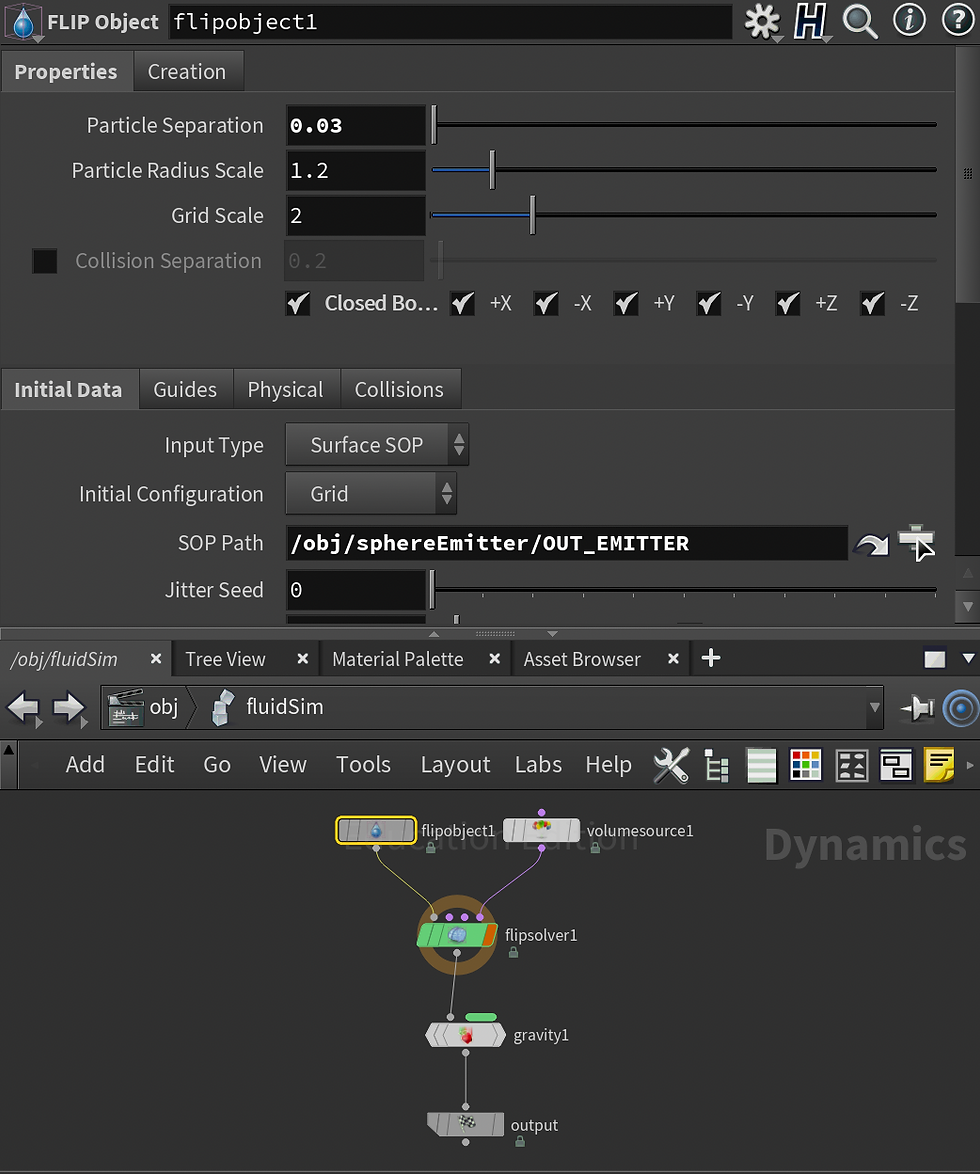
For a start up, I created a box to be a collider and a sphere with a mountain node to be my emitter and named it appropriately with the null node at the end. Within a dop network, a fluid sim needs a fluid object and volume source, which will be hooked up to the null node from the emitter geo container, a flip solver, and gravity.


Within the solver itself I made sure that the volume limit box was big enough to fit the collider container it is pouring into but not drastically large.

I made sure that my box was a static object. I would like to animate it moving soon, which will be deforming geometry, but for now it is static. Within that collision source, I am changing the voxel size so that it is smaller and it will help prevent spilling and increased the bandwidth.


Back inside the dop network, I changed the collision detector to be volume instead of default as we are dealing with volumes.

This was my current flip book and my next goal is to have it within the model and to do a swirl test so that it is more accurate to the actual effect we are doing.

Comments